How To Change Kodi Colors with just a notepad
This simple but effective trick will let you change your kodi skin color without messing around with textures, Photoshop and so on… You will just need a simple text editor.
The beauty of this method is that is very simple, you need just 2 mins, and you can change colour everytime you want with a simple copy paste.
For this demonstration I am using Notepad++ which can be downloaded for free at this address: https://notepad-plus-plus.org/
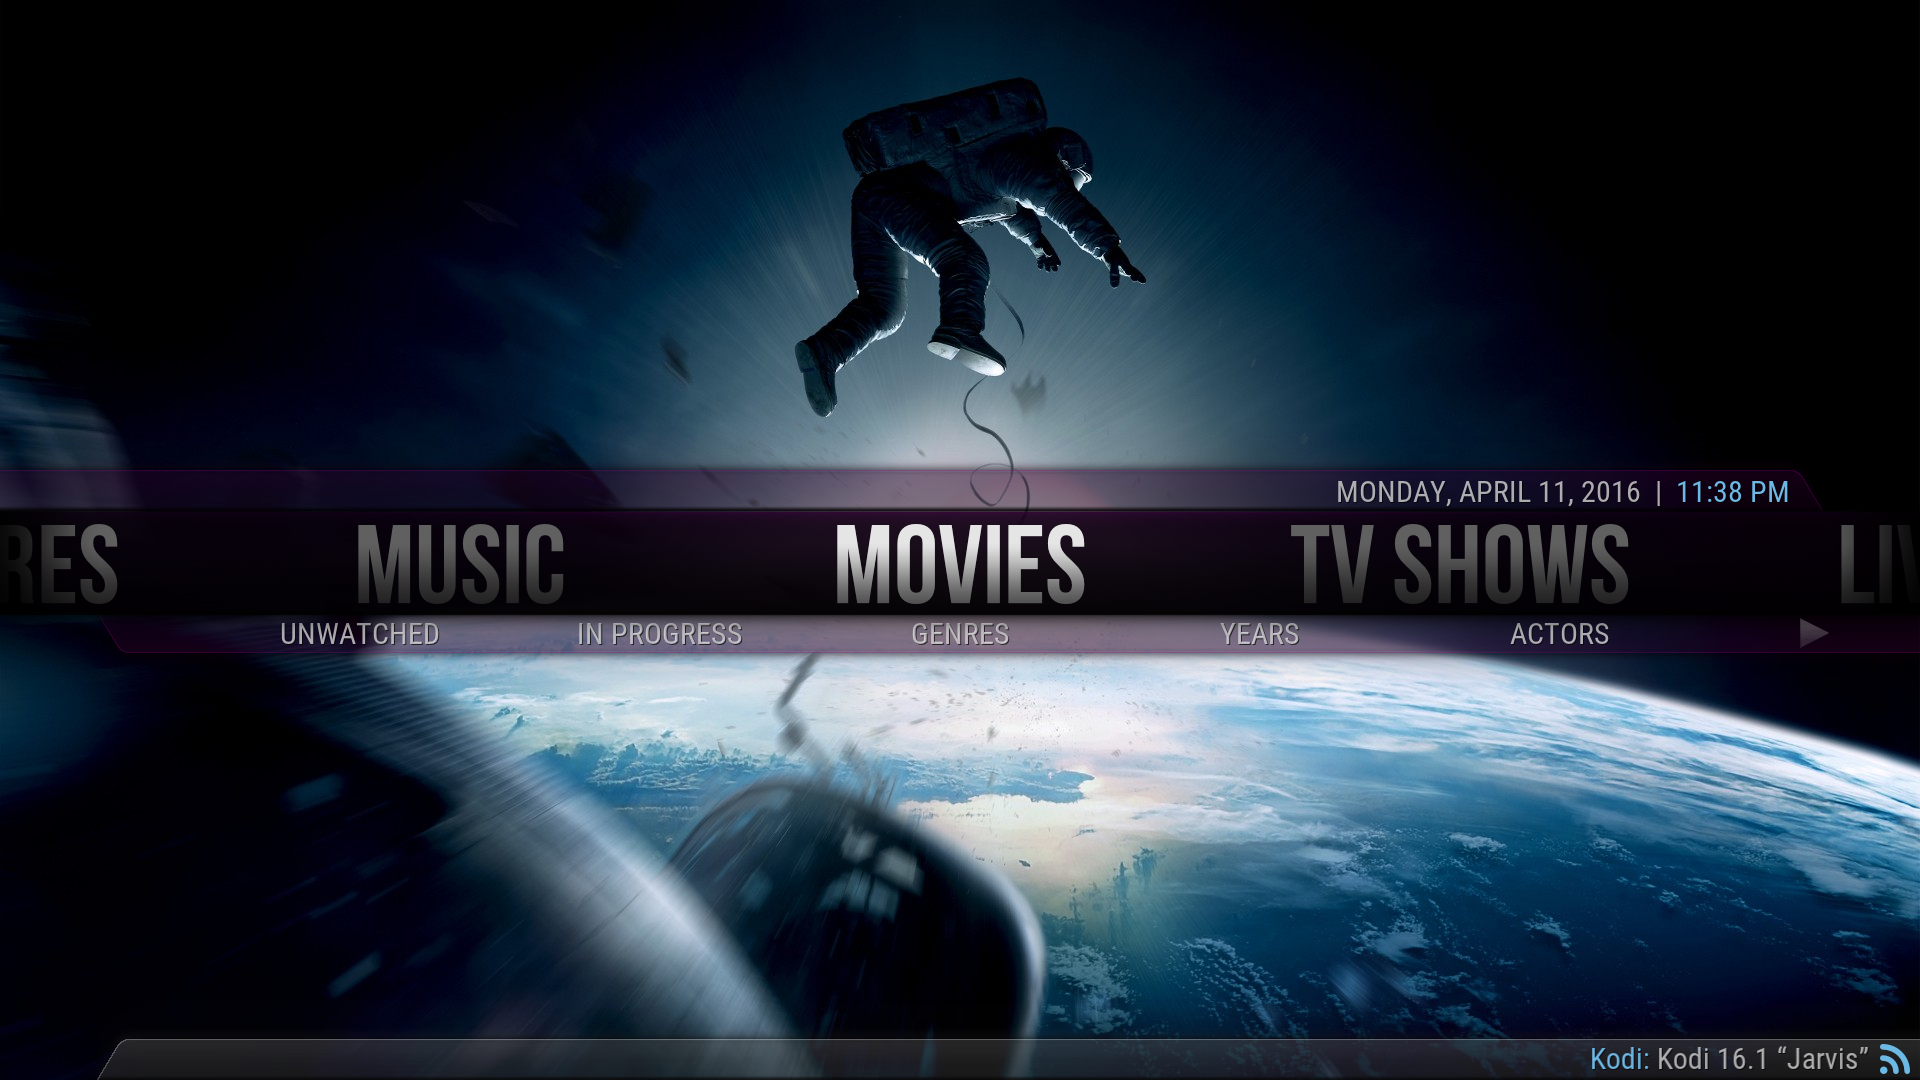
First We will start with the basic Kodi Confluence skin:
To access the Confluence skin we need to navigate to the Kodi program folder because it’s the location where Kodi stores the defaults addons and the confluence skin (not the appdata folder).
In Windows you will find the Kodi folder in: C:\Program Files (x86)\Kodi
Now navigate inside “addons>skin.confluence>720p” and you will see a lot of xml files in there.
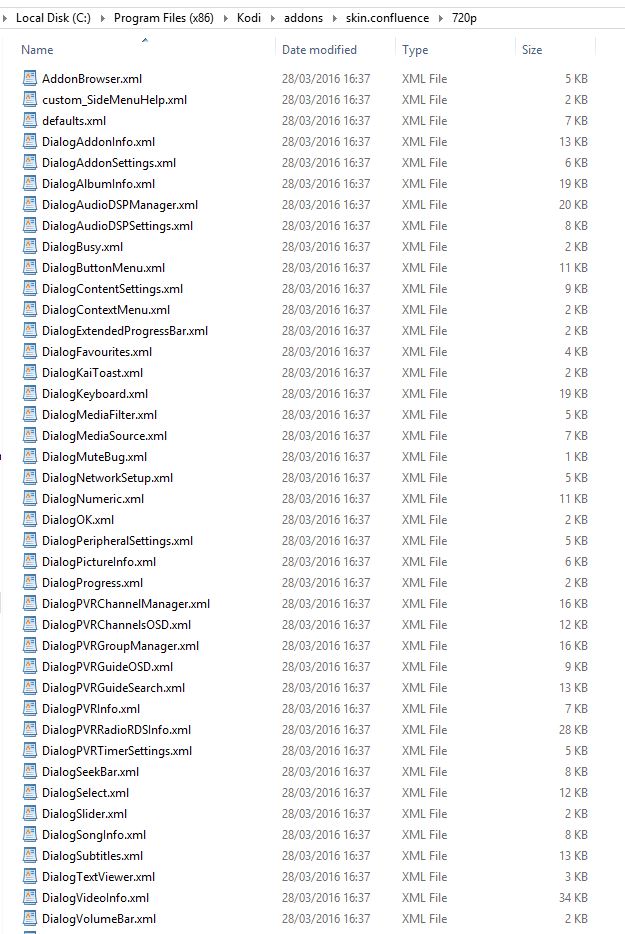
We need to edit the “Home.xml” file… So select it and right click “Edit with Notepad++”

Now scroll down until you find the line with the HomeBack.png (which is the texture of the home menu bar)
and after “<texture” add the line colordiffuse=”red” (in this case we are setting the colour with “red” but you can use whatever basic colour you like… “green”, “yellow”,”white” etc etc)
also we need to change the Overlay color of the HomeOverlay1.png
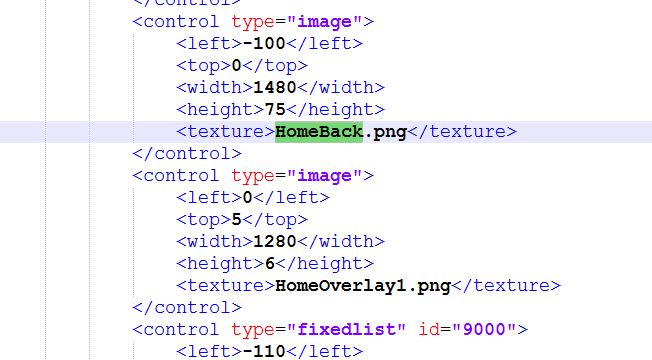
This is how it should like after the edit:

Once done just click File>save and open Kodi.
Your Skin now will be with a nice red overlay Color

The same method can be applied with custom/downloaded skin…
Aeon Nox for example:

For every custom/downloaded skin you will find the location of the xml files in the Kodi Appdata Folder which in Windows is in: C:\Users\YOURUSERNAME\AppData\Roaming\Kodi (where YOURUSERNAME is of course you Windows user)
Now navigate in addons>skin.aeon.nox.5>1080> and Right Click “Home.xml” file > Edit With Notepad++
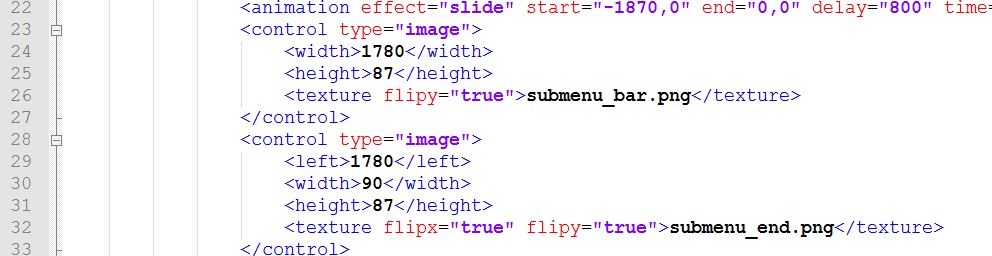
These two textures are for the submenu bars (submenu_bar.png and submenu_end.png)
And this one is for the main Central Bar (homemenu_back.png)

Same method here, just replace the texture type with a colordiffuse… We are using a nice purple color now.
So we are replacing the top bar with a colordiffuse =”purple”
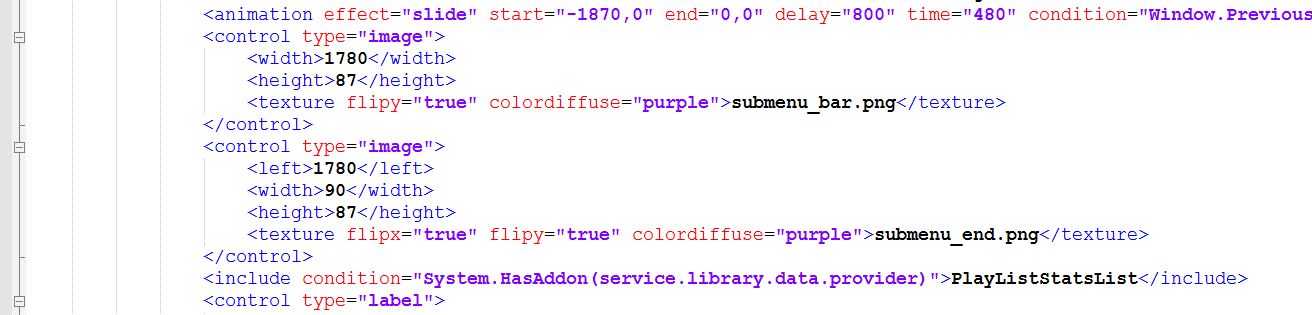
the bottom bar
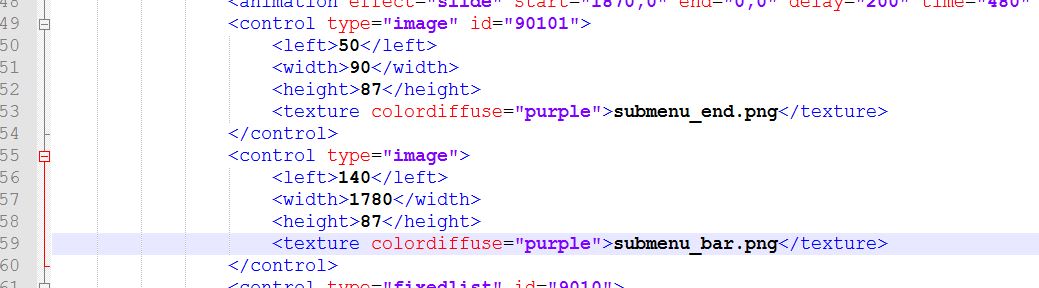
and the Central BAR

File>save the file …
AND ENJOY YOUR NEW SKIN!